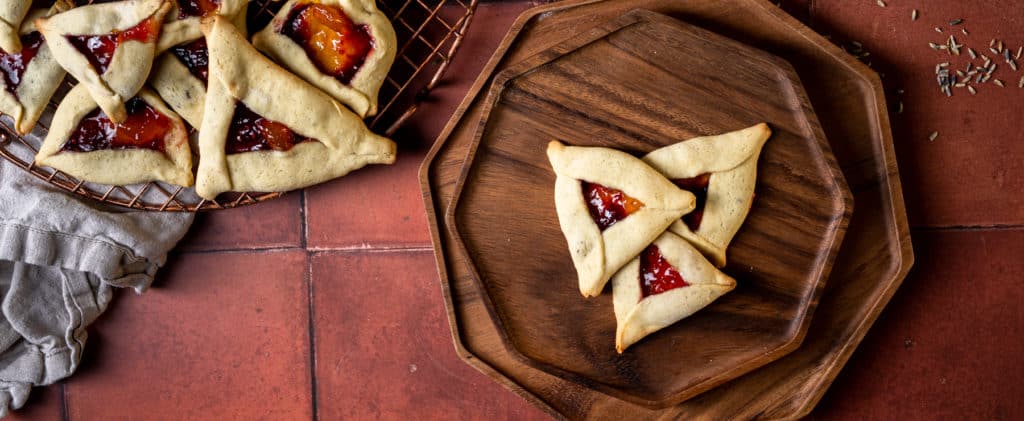
I’m not a very religious person. That said, I do love a festive holiday treat. Hamantaschen are one of those treats. They’re an Ashkenazi Jewish cookie made for the holiday Purim, which happens to be this week! Purim is a holiday that celebrates the saving of the Jewish people from an evil dude name Haman. These cookies, which we refer to as hamantaschen, are meant to symbolize the defeat of Haman. According to wikipedia, they’re supposed to resemble Haman’s ears, though I distinctly remember learning that they were meant to look like his hat. Either way, they represent his defeat. That’s what’s important.
I’m not going to talk too much about the holiday. If you want more information on it, by all means google it. I’m sure you’ll find lots of interesting information!
Back to the cookies
The hamantaschen of my youth were always massive. I loved the drama of their size, but found the cookie to jam ratios to be completely out of whack. There was always way too much cookie and not enough jam. So you’d better believe that I fixed that for these hamantaschen. They’re moderately sized with a thin cookie and filled with lots of gooey jam. You’re welcome.
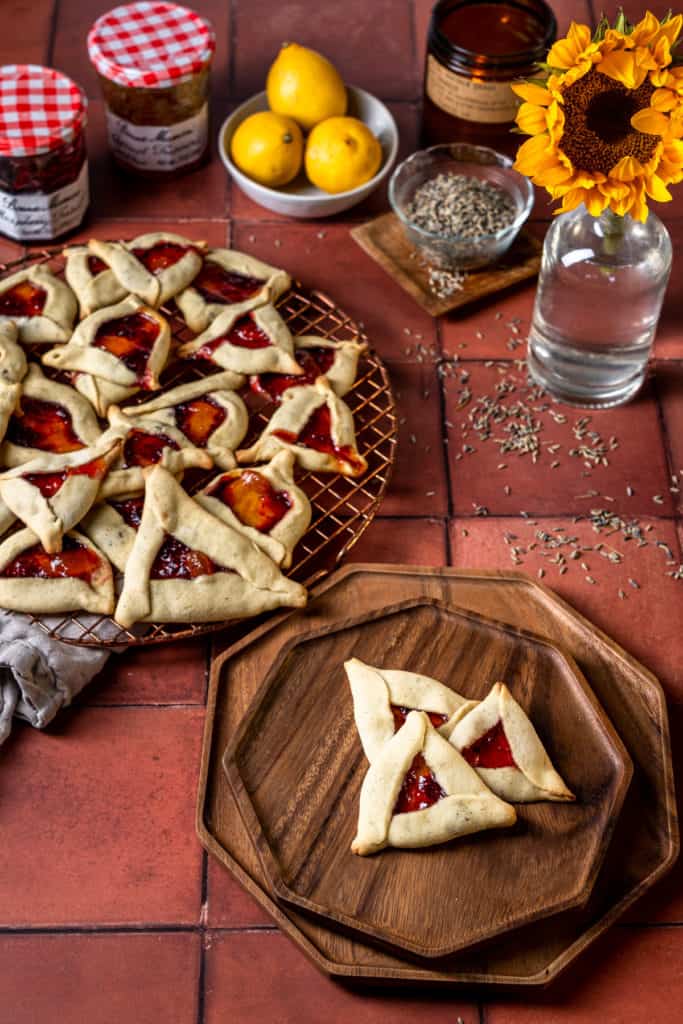
As for flavor, I opted for classic but with a little twist. The cookies themselves have lemon zest and dried lavender in them. Neither one is overwhelming, but they give it a nice subtle flavor that pairs perfectly with the raspberry and apricot jams I filled the cookies with. I decided on apricot and raspberry for a few reasons.
- Those were my two favorite hamantaschen fillings as a kid! So I thought mixing them would be a nice little homage to the hamantaschen of my childhood.
- I wanted store bought jam to be an option. More often than not, I use homemade jams in my treats. And while I absolutely love them, I thought store bought would be a little more accessible. You can use whatever apricot and raspberry jams you’d like for this. I used Bonne Mamman because it’s high quality and easy to find. Their jams are great so I’d definitely recommend following suit, but any brand you like is fine.
- I hoped using two different colored jams would look cool. And y’know, it didn’t disappoint. Each cookie looks a little bit different. Some have more yellow, some more red. My favorite ones have a cool little marbled effect.
Why did you use a food processor for this?!
Normally when I bake I either use my stand mixer or I mix by hand. This time, however, I used my food processor. I liked the idea of the food processor chopping the dried lavender into tiny bits. In doing this, I reduced the likelihood of there being big chunks of lavender in the cookies (which isn’t something I mind, per se, but I wanted a subtler flavor).
If you don’t have a food processor, feel free to use your stand/hand mixer (or do it manually). You can leave the lavender as is, or you can chop it before mixing it in.
Measuring flour:
I feel like a broken record every time I write this, but it has to be said. Properly measuring flour can be a bit tricky. Scooping directly from the bag with a measuring cup will likely result in you using way too much flour. This can wreak havoc on your cookies. Instead, fluff the flour up a bit, then spoon it into a measuring cup and level it with a knife. Alternately, you can use a kitchen scale, but I know that not everyone has one of those, so it’s not essential!
Let’s talk about rolling, filling and shaping
I’m not gonna lie, this part is a little bit tricky. I recommend chilling your dough for a couple of hours. This will make it easier to roll it out without it getting too warm and hard to handle. I also recommend liberally flouring your work surface and rolling quickly. When it comes time to fill the centers with jam, I worked in 1/2 tsp increments. I generally put 4 little dollops of jam in each cookie (2 apricot, 2 raspberry), but wasn’t too precious about getting every last drop out of the spoon. In fact, the times that I did scrape the spoon clean, I ended up with misshapen cookies because they had too much filling. All that said, I’ll take a wonky looking cookie with a lot of filling over a perfect looking one that lacked flavor and texture any day. Bring on the wonk.
To make this part of the process a little less scary for you, I made a quick video you can reference.
Now without further ado, let’s bake!
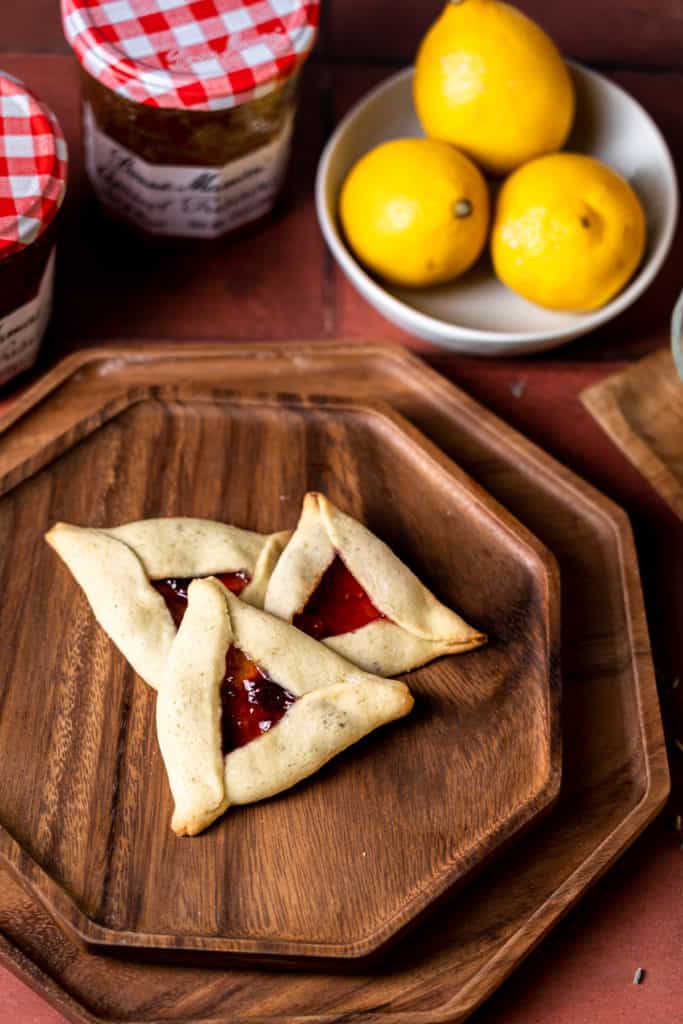
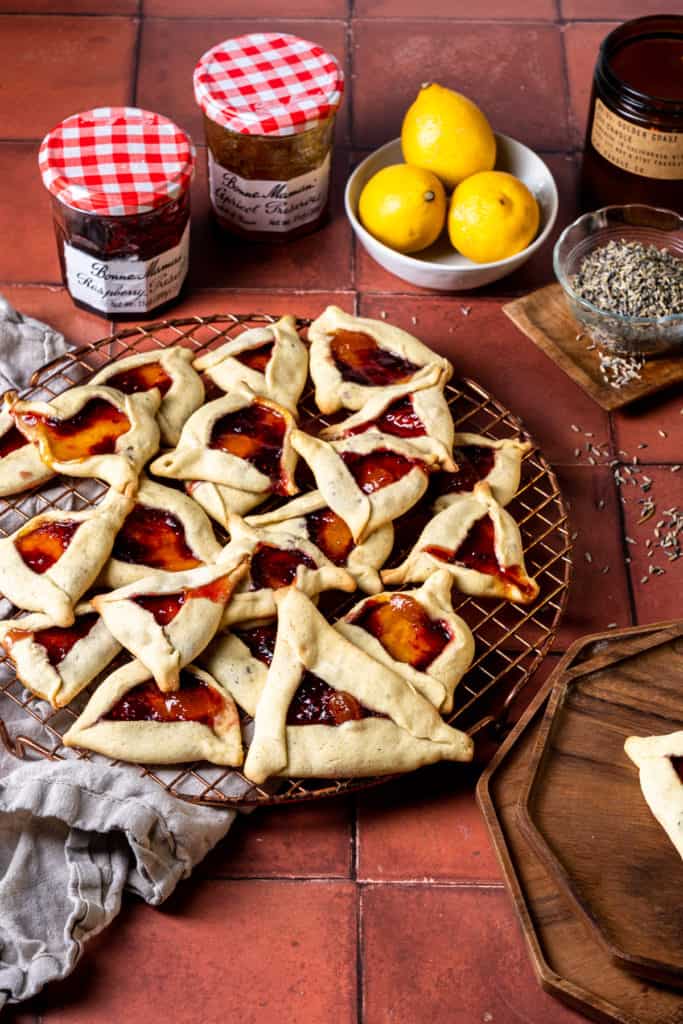
Lemon and Lavender Hamantaschen with Raspberry and Apricot Jam
Equipment
- Food processor
- 3 inch round cookie cutter biscuit cutter
- Rolling Pin
Ingredients
- 3/4 cup Granulated sugar
- 1 tbsp Lemon zest
- 1 tsp Dried lavender
- 4 oz Butter (8 tbsp)
- 2 Large eggs
- 1 tsp Vanilla extract
- 2 1/4 cups All purpose flour (Plus extra for rolling)
- 1/2 tsp Salt
- 1 jar Raspberry jam (I used Bonne Mamman)
- 1 jar Apricot jam (I used Bonne Mamman)
Instructions
- Add sugar, lemon zest, dried lavender and butter to the bowl of your food processor. Process until everything is well mixed and looking light and fluffy. Then add the eggs and vanilla extract. Process until fully incorporated, then add the flour and salt. Blitz until it forms a dough, careful not to over-mix. Remove from food processor and wrap in plastic wrap. Then put in the fridge for at least a couple of hours.
- Once the dough is nice and cold, preheat your oven to 350° Fahrenheit and liberally sprinkle flour onto a table or countertop and roll out the dough. (I like to do this in small batches so that it doesn't warm too quickly.) Roll dough until it's 1/8 of an inch thick. Then stamp cookies it with a 3" round cookie cutter (a wide mouthed jar lid works well too). Pull up the excess dough and set it to the side to re-roll.
- Fill the cookies with jam. I used about 2 tsp per cookie. I alternated raspberry and apricot jams (in 1/2 tsp increments) in order to achieve a marbling effect. After you fill a cookie, fold the dough on the right side in and over the edge of the jam. Do the same to the left and bottom sides (you're going for a triangular shape with an exposed jam center – see video above if confused). Gently press the three points together to seal them. Repeat until all dough is used.
- Transfer to a lined baking sheet. These shouldn't spread much, but leave about 1/2 inch between each cookie. Bake for 15-17 minutes, or until the bottom and edges are golden but the rest of the cookies are still light. Then let cool and enjoy!
Notes
Whew, writing that up was a lot. I hope you’re not too put off by the process of these cookies. The first few might be rough, but they come together quickly once you get the hang of it. I promise.
If you make these, let me know in the comments or on Instagram! I always love hearing from you and seeing your creations. And if you celebrate, I hope you have a very happy Purim.
Looking for more sweet treats? Check out my malted chocolate chip cookies (I’m obsessed with these right now) or my olive oil and blood orange bundtlettes!
