Whereas most of my recipes are planned out weeks in advance, this one was developed on a whim. You see, I recently found myself with an abundance of pre-made pie crusts. (They were left over from a photo shoot and I’m not big on food waste, so I obv kept them.) Anyway, last week, I decided to put them to good use by making a galette. I’d planned to make a plum and thyme galette, but Trader Joe’s didn’t have a single plum in stock. They did have pears, though. So instead, I decided to get a little experimental with a pear and blue cheese galette.
Originally, I wasn’t sure if I was going to post a recipe for this bb. Blue cheese is divisive, and I honestly wasn’t sure how people were going to feel about it. But Ben loved it right off the bat, and a blue cheese hating friend of ours also ended up enjoying it, so I figured why not.
Because this recipe uses pre-made pie crust, it’s super simple. It does require a half hour of chill time and an hour of cook time, but it’s not active, so it’s fine.
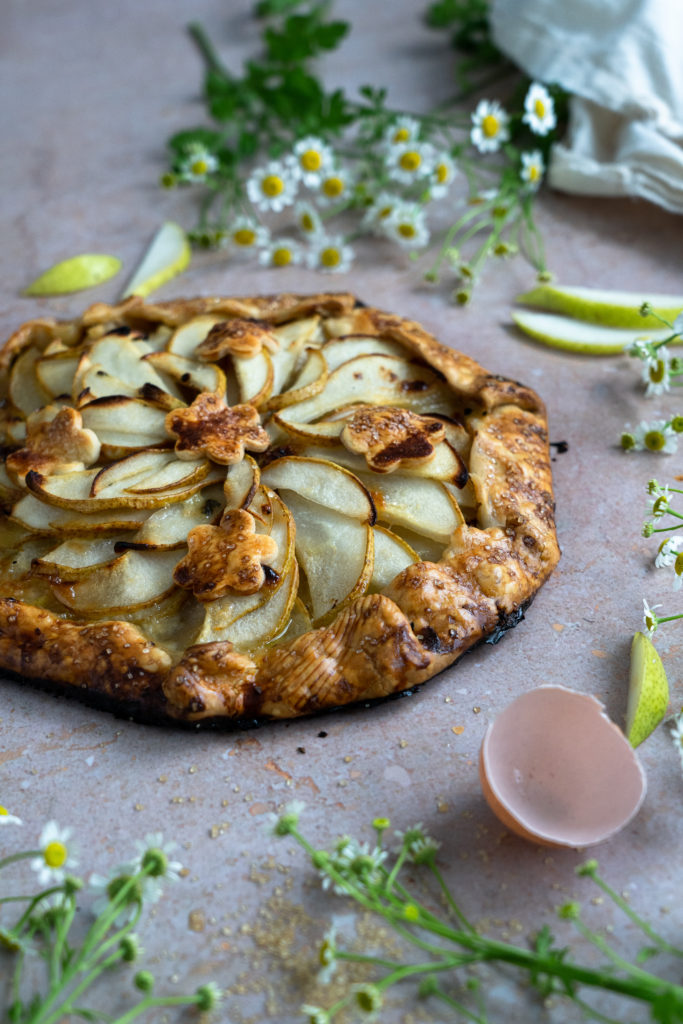
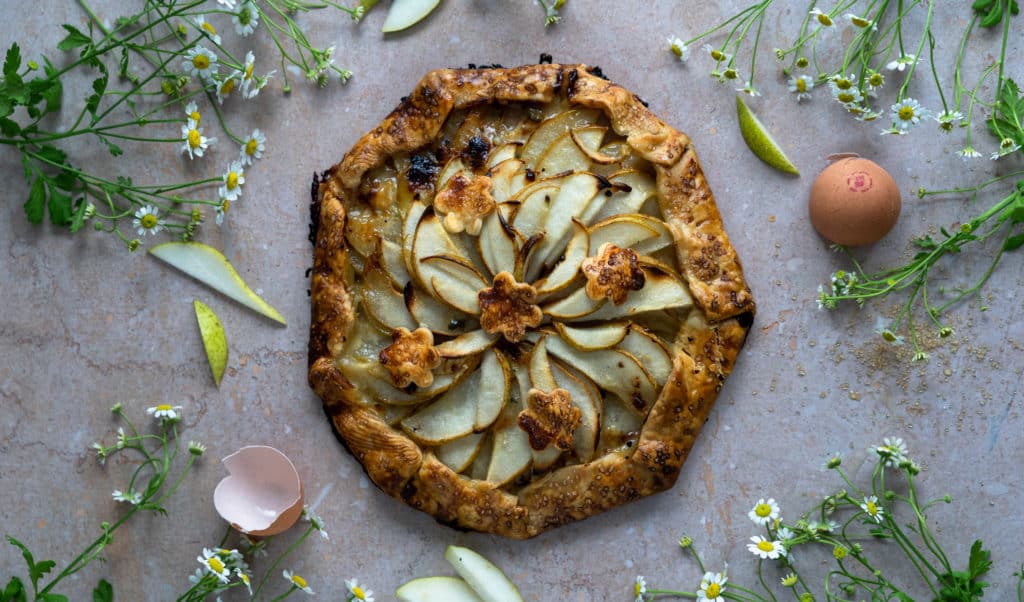
Pear and Blue Cheese Galette
Ingredients:
- 1 pre-made pie crust (Or 2 if you want to decorate the top! A box typically comes with 2)
- 3 large Bartlett pears, thinly sliced
- 1 tbsp cornstarch
- 1/2 tsp salt
- 1/4 cup sugar
- 2 oz blue cheese (I used Cambezola triple cream blue, but you do you), roughly chopped
- 1 tbsp butter
- 1 egg, beaten
- Course sugar, to taste
Directions:
- Line a baking sheet with parchment paper and place the rolled out pie crust in the middle of it.
- In a large bowl, mix the cornstarch, salt and sugar together. Add the pear slices and toss to coat them. Now add the blue cheese chunks and gently toss the mixture once more.
- Fill the center of the pie crust with the coated pear slices and blue cheese chunks. I was really specific about how I arranged it, but you can just toss it on in if you want to. Leave 2-4 inches of crust around the edges and fold it over the pear mixture, pressing down to make sure that they stick together.
- Thinly slice the butter and put it on top of the fruit and cheese. If you have extra pie crust that you don’t mind parting with, you can cut a few small shapes out of it (or use a cookie cutter, like I did) and place them on top of the fruit.
- Put the galette in the fridge to chill for about 30 minutes. This is also a great time to preheat your oven to 400° Fahrenheit.
- Once the galette is nice and chilly, pull it out of the fridge and gently brush the beaten egg over the crust. Sprinkle a bit of course sugar on top of the crust, and pop that galette in the oven for about an hour, or until the crust is golden brown and the pear juice is bubbly.
- Transfer the galette to a cooling rack and let it sit for about 20 minutes before cutting into it.
And that’s it! Hopefully you like this pear and blue cheese galette as much as I did. It’s great on its own, but I also love it with a scoop of vanilla ice cream on top. Let me know what you think in the comments or on Instagram!

That looks really delicious!